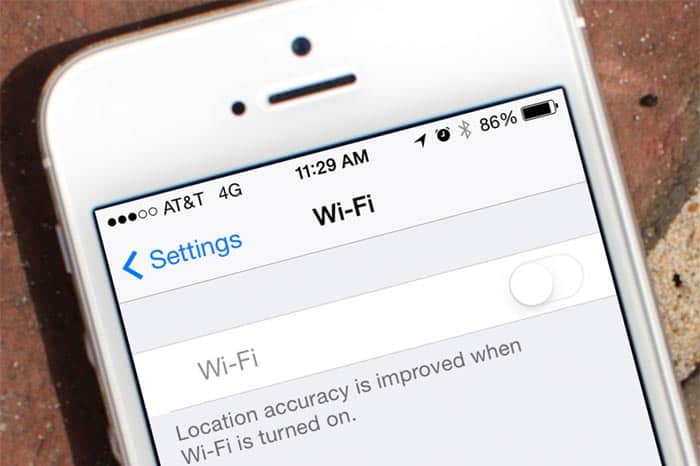
If you have been trying to connect your iPhone to a Wi-Fi network without success, you will probably agree with us when we say that the iPhone won’t connect to WIFI issue can be incredibly frustrating. The iPhone won’t stay connected to WIFI issue can keep you from doing most of the things you do with the device, including streaming videos on YouTube, streaming music, or downloading large files.
In most instances, the iPhone won’t stay connected to WIFI issue can be eliminated by some simple steps. In this article, we will focus on showing you how to get rid of the iPhone won’t connect to WIFI.
Advanced Solution to iPhone Won’t Connect to WiFi Issue
Fixcon – iOS System Recovery is one of the best iPhone troubleshooters. It offers two professional modes to help you fix iOS/iPadOS system issues.
With the assistance of Fixcon, you can resolve the iPhone won’t connect to WiFi issue without data loss. Here are the details:
Step 1. Download, install, open Fixcon on your computer. And connect your iPhone with a USB cable.
Step 2. Then choose the Standard Repair. The software will automatically detect and show you the device info.
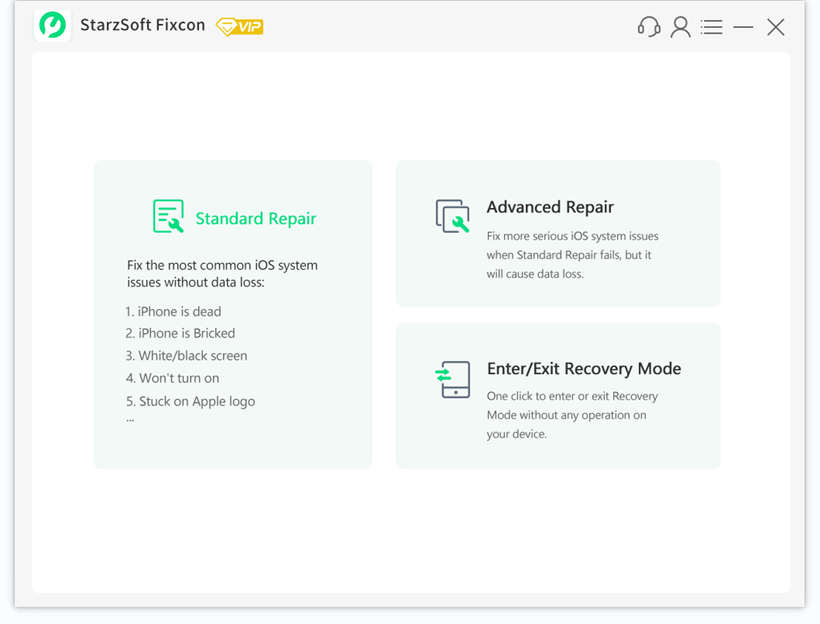
Step 3. Next, click on the Download button. It will start to download the firmware which will be uesd to repair your iPhone issues.
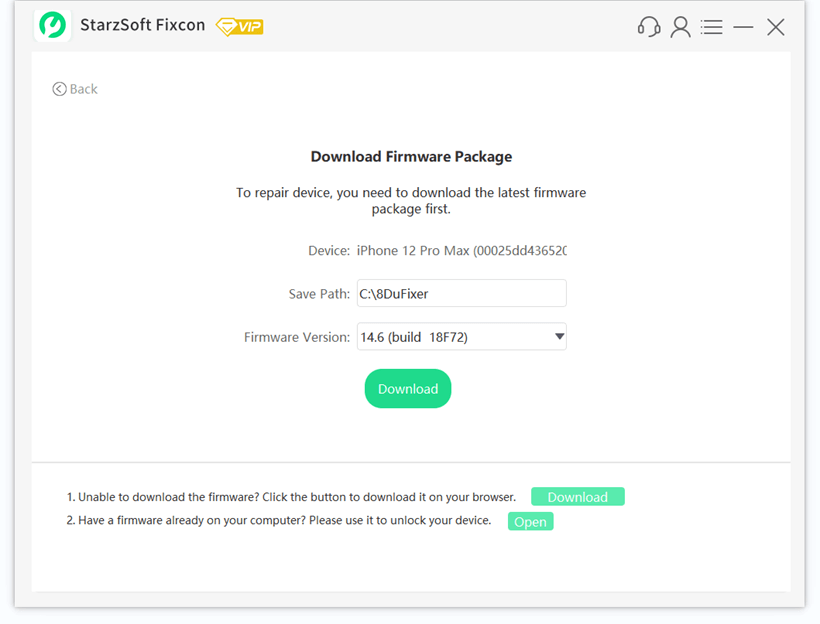
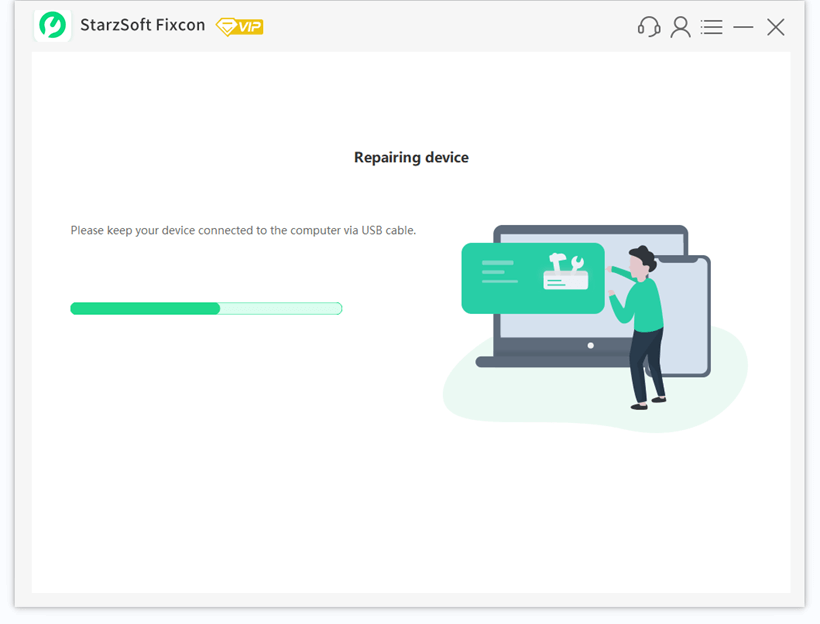
Step 4. After downloading, start to repair, the process will take a few minutes.
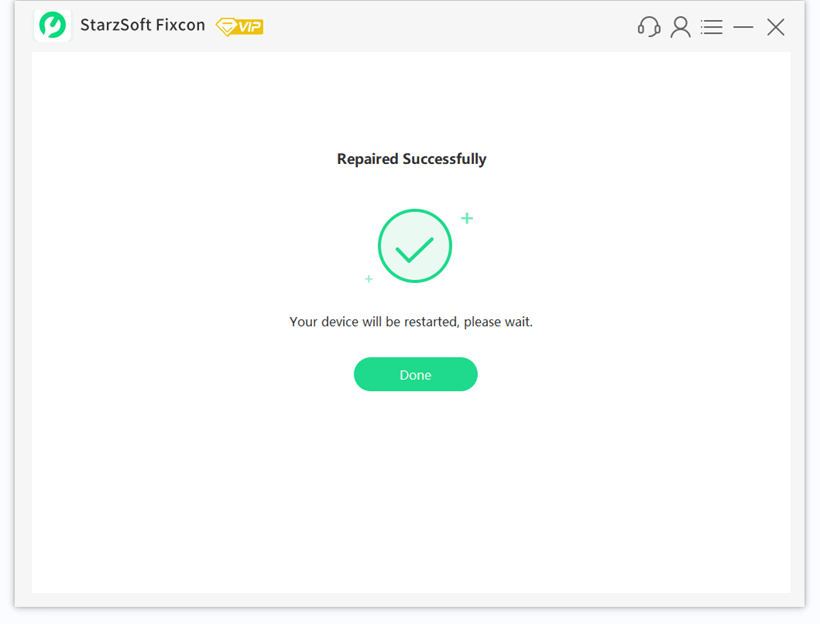
Step 5. Finally, restart your iPhone. You’ll be able to connect it to your WiFi network without any hassle!
Common Solutions to the iPhone Won’t Connect to WIFI Problem
1. Turn Wi-Fi Off and then On
In some instances, turning your Wi-Fi off briefly and then on can fix the iPhone won’t connect to WIFI issue. To apply this simple solution, follow the steps below:
Step 1: Open the control center by swiping from the bottom edge of your screen.
Step 2: Tap the Wi-Fi icon. This will turn Wi-Fi off.
Step 3: Wait a couple of seconds and then tap the Wi-Fi icon again to turn Wi-Fi on.
An optional way of turning Wi-Fi off and then on involves visiting Settings > tapping Wi-Fi > toggling the Wi-Fi switch.
2. Turn Your Bluetooth Off
In some instances, the answer to the question “why won’t my iPhone connect to WIFI” is that the Bluetooth is on. Turning the Bluetooth off has helped fix the iPhone won’t connect to WIFI issue on iPhones before. To turn the Bluetooth off, follow the steps below:
Step 1: Swipe up from the screen bottom to reveal the control center.
Step 2: Tap Bluetooth icon to turn it off.
3. Toggle Airplane Mode on and Then Off
If you cannot connect to the Wi-Fi, there is a chance that the Airplane mode is enabled on your device. If this is the answer to the question “why won’t my iPhone connect to WIFI?” turning the mode off should fix your issue. If the Airplane mode is currently off, turning it on and then off can still help you fix the Wi-Fi connection issues. Follow the steps below to apply this solution:
Step 1: Visit Settings and then toggle the Airplane mode on.
Step 2: After a couple of seconds, toggle the mode off.
4. Toggle the Wi-Fi Assist on and Then Off
This feature is available on devices running iOS 9 and later. The feature allows your device to switch to cellular data automatically if the Wi-Fi connection is poor. To toggle the feature on and then off, use the steps below:
Step 1: Open Settings > Cellular.
Step 2: Scroll down to locate Wi-Fi Assist. Toggle the feature on and then wait for a couple of seconds. Next, toggle the feature off.
5. Reboot Your iDevice
In some instances, the answer to the question “why won’t my iPhone connect to WIFI?” is iOS glitches. These glitches can be gotten rid off by simply restarting your iPhone. To restart your iPhone, follow the steps below:
Step 1: Press and keep holding the Sleep/Wake button.
Step 2: When the slider appears on your iPhone screen, slide it to turn the device off.
Step 3: Wait for a couple of seconds and then press the Sleep/Wake button until the iPhone screen turns on.
6. Force Restart Your iPhone
If a simple reboot did not fix your issues, you can try force-restarting your iDevice. Follow the steps below to force restart the iPhone.
iPhone 8 and Later
Step 1: Quick-press the Volume Up button.
Step 2: Quick-press the Volume Down button.
Step 3: Press and keep holding the Side button until you see the Apple logo.
iPhone 7/7 Plus
Step 1: Press and keep holding both the Sleep/Wake and Volume Down buttons.
Step 2: When you see the Apple logo on your screen, release the buttons.
iPhone 6S and Earlier
Step 1: Press and keep holding both the Sleep/Wake and Home buttons.
Step 2: Release the buttons when the Apple logo shows.
7. Restart the Wi-Fi Router
In some instances, there is a chance that your Wi-Fi may be having issues. To determine whether your Wi-Fi router has issues, you can try connecting to other Wi-Fi networks. The steps for restarting your router may vary depending on the model. After following the steps for restarting your router (these should be available on the user manual), go ahead and try to connect to Wi-Fi again.
8. Turn Off the Location Services for Wi-Fi Networking
While this solution may not work on your device, it has managed to work on a number of devices. We did come across various comments from people who had used this solution to fix the iPhone won’t connect to WIFI issue. To apply this solution, you will simply need to follow the steps outlined below:
Step 1: Navigate to Settings > Privacy.
Step 2: Click Location Services > System Services.
Step 3: Turn Wi-Fi Networking off.
9. Forget the Wi-Fi
If your iPhone won’t stay connected to WIFI after trying all the above solutions, you can try forgetting the Wi-Fi network and then reconnecting again. Follow the steps below to forget the Wi-Fi network:
Step 1: Open Settings > Wi-Fi.
Step 2: click the “i” next to the Wi-Fi you would like to forget.
Step 3: Select Forget This Network. Confirm your action by tapping Forget.
After forgetting the Wi-Fi, Open Settings > Wi-Fi > Select the Wi-Fi network and then enter the password.
10. Try Updating the Router Firmware
In some instances, you may be able to fix the iPhone won’t connect to WIFI issue by updating the firmware on your router. To update the router firmware, locate the model and version number. This information should be available on the device or the manual. Next, visit the router’s manufacturer website to see whether a firmware update is available. Download the update and install it on your router. Check to see if the device can connect to the Wi-Fi.
11. Change the DNS Settings
In some instances, changing the DNS settings on your iPhone could help you fix the iPhone won’t stay connected to WIFI issue. You can use the Google DNS (8.8.4.4 or 8.8.8.8). Also, you can use the Open DNS (208.67.220.123 or 208.67.222.123). To change the DNS, follow the steps outlined below:
Step 1: Go to Settings > Wi-Fi.
Step 2: Find the network whose DNS settings you would like to change and then tap the “i” button.
Step 3: Locate the DNS. Tap on the numbers.
Step 4: The keyboard should appear. Choose a DNS from the ones mentioned above and enter it.
12. Reset the Network Settings
If the solutions outlined above are yet to help you get rid of the iPhone won’t connect to WIFI issue, you can try resetting the network settings on your device. It is worth noting that when you reset the network settings, you will lose your Wi-Fi and cellular settings, including saved networks and passwords. Follow the steps below to implement this solution:
Step 1: Open Settings > General > Reset.
Step 2: Click Reset Network Settings.
Step 3: If prompted for a passcode, enter it and then confirm your action by tapping Reset Network Settings on the popup.
13. Update Your iOS Versions
Directly on the iPhone
If your iPhone is running on an older iOS version, the bugs present in the OS could be causing the iPhone won’t stay connected to WIFI issue. To fix the issue, you will just need to update the operating system. If the Wi-Fi connection keeps dropping in a way that could make the iOS update impossible, you may have to update your iOS using your iTunes (we will explain how to do this later). The steps below will help you update the iOS version directly on your iPhone:
Step 1: Open Settings > General > Software Update.
Step 2: If a newer iOS version is available, it should be displayed. All you will need to do is click Download and Install.
Update Your iOS version via iTunes
If it is impossible for you to update the iOS version on the iPhone, follow the steps below to update the iOS via iTunes
Step 1: Connect your iDevice to the computer using a USB cable.
Step 2: Launch iTunes.
Step 3: When your iPhone appears on iTunes, select it. Next, tap Summary.
Step 4: Click Check for Update.
Step 5: If a newer iOS version is available, tap Download and Install or Update.
14. Restore Your iPhone to Factory Settings Via iTunes
This option can help you fix the iPhone won’t stay connected to WIFI issue. It is, however, worth noting that the solution will erase all the data you have on your iPhone. Therefore, you should consider creating a backup before applying this solution.
To get a fresh restart with your iPhone and see if you will be able to reconnect to your Wi-Fi network, follow the steps below:
Step 1: Ensure you have the latest iTunes version on your computer.
Step 2: Launch iTunes on your computer and then connect the iPhone to your computer using the USB cable.
Step 3: When the iPhone appears on iTunes, select it.
Step 4: In the Summary section, select the Restore iPhone option.
Step 5: Click Restore to confirm.
Step 7: Wait while iTunes restores the iPhone and also installs the latest iOS version.
Step 8: After the restore, follow the onscreen instructions to set up your device.
15. Renew Lease
This option should give you a new IP (Internet Protocol) address. The new IP address could make it possible for you to connect to Wi-Fi networks without issues. Follow the steps below to renew the lease.
Step 1: Visit Settings > Wi-Fi.
Step 2: Locate your Wi-Fi network and then click the “i” button. Select Renew Lease.
Summary
The solutions outlined above should help you get rid of the iPhone won’t connect to Wi-Fi issue. However, if none of the solutions have worked so far, there is a chance that your device may have hardware issues. In this case, you can either contact Apple support to have them check the device or you can take the device to an Apple device repair professional.
