User Guide of StarzSoft Fixcon
StarzSoft Fixcon focus on iOS/iPadOS/tvOS System Repair without data loss. If your iPhone/iPad/iPod Touch/Apple TV encountered system issues like bricked, stuck on white or black screen, won’t turn on, stuck on Apple logo and so on, Fixcon will help you out with a few clicks.
First of all, download StarzSoft Fixcon from here:
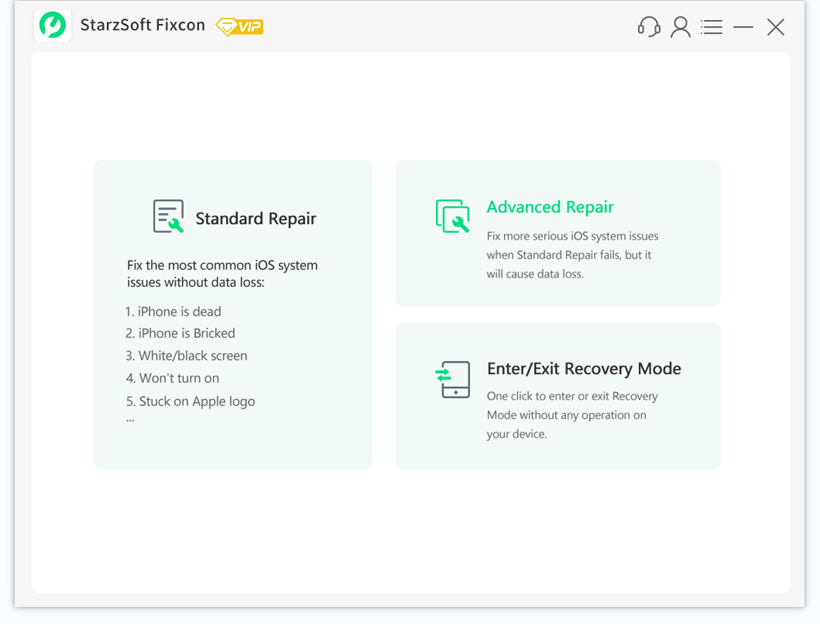
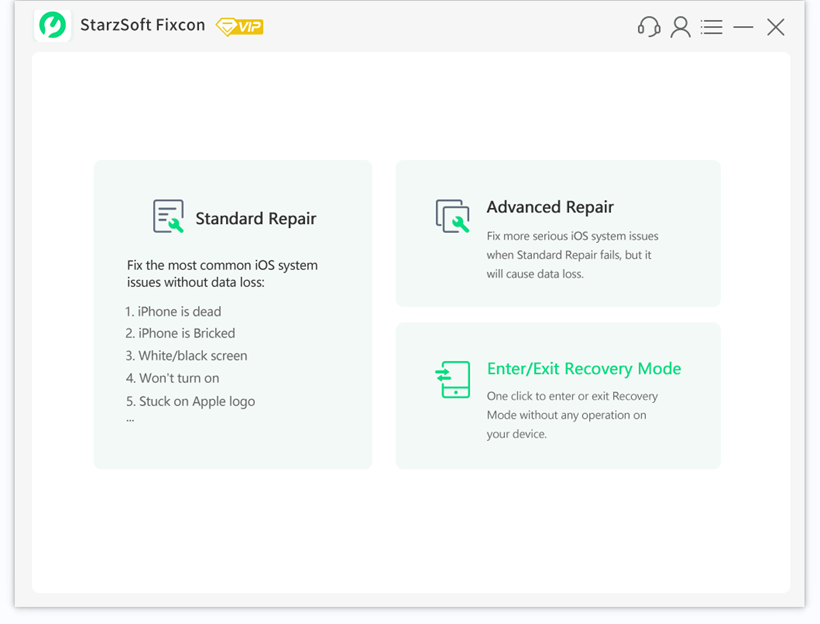
After launching Fixcon on your computer, you will find three modes as below:
- Standard Repair
- Advanced Repair
- Enter/Exit Recovery Mode
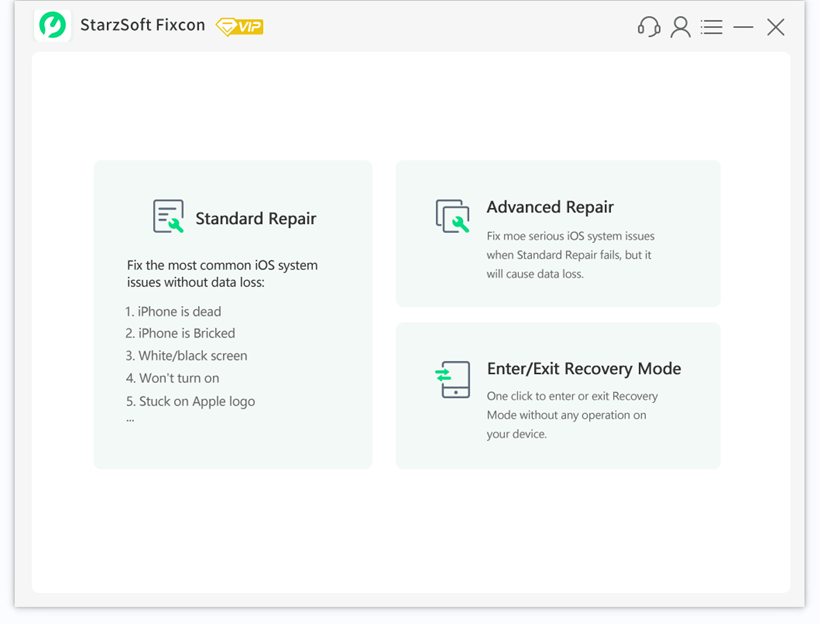
The Standard Repair is useful and firstly recommended when you trying to fix common system issues and no data will be erased after repairing.
If the Standard Repair mode has been tried but could not fix it, let’s try the Advanced Repair. It’s specially designed to fix more serious issues. Please noted that you will lose all the data in your device after using this mode.
The last option – Enter/Exit Recovery Mode – will help you to enter or exit Recovery Mode with only one click. It’s simple and helpful when the home button or other button of your device is broken.
Please refer to the detailed guide below to make good use of Fixcon. Make sure you have a stable USB cable, and a good network connection. Let’s get started.
Standard Repair – Fix Common System Issues without Data Loss
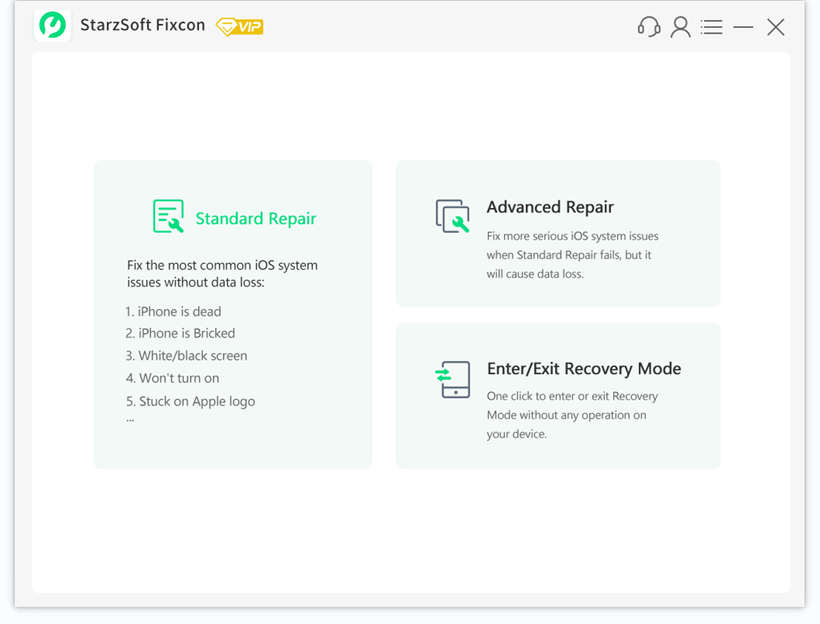
Step 1. Select Standard Repair
Launch StarzSoft Fixcon and click on “Standard Repair” from its home interface.
Step 2. Connect Your Device
Connect your device to computer via a USB cable/Micro-USB.
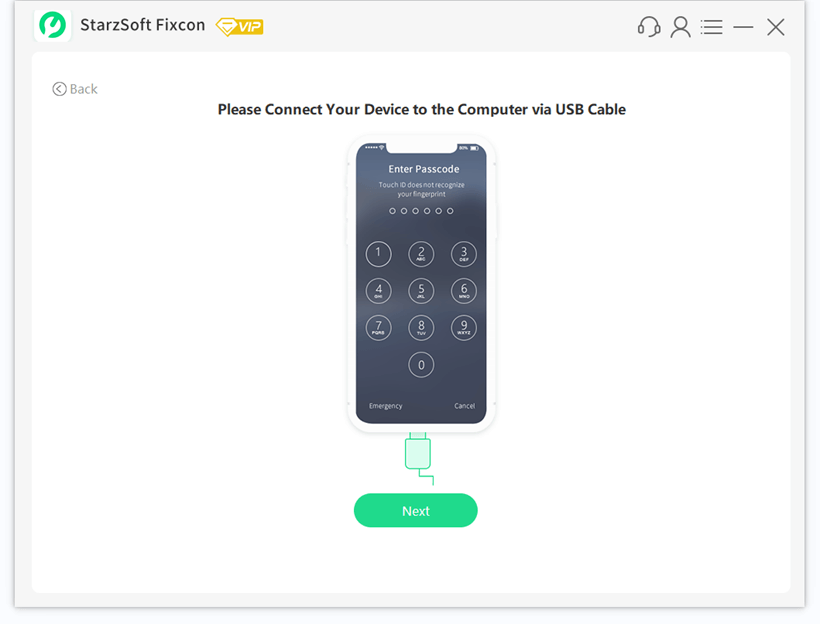
StarzSoft Fixcon will automatically detect your device and proceed to the next step.
If not, you’ll have to click on the “Next” button and then follow the on-screen instructions to put your device into DFU/Recovery Mode.
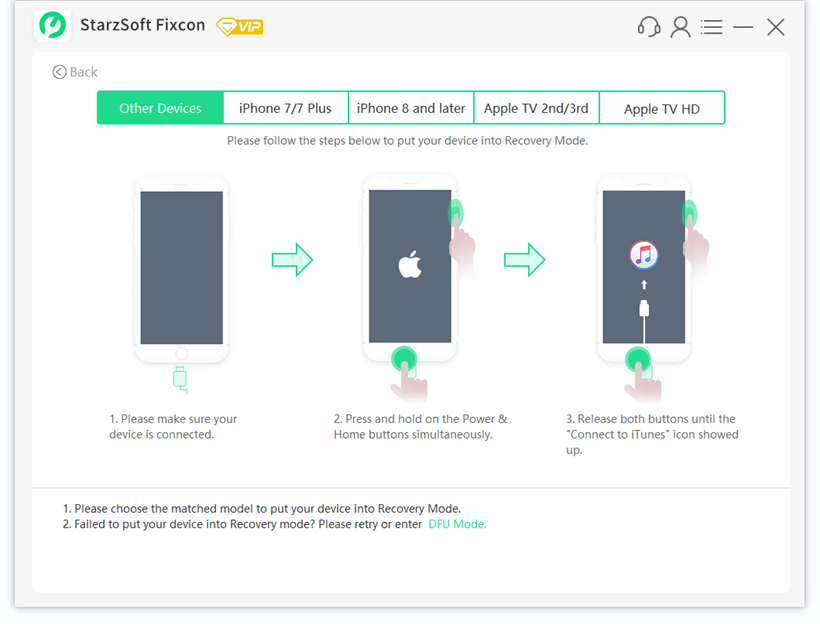
(Recovery Mode Instructions)
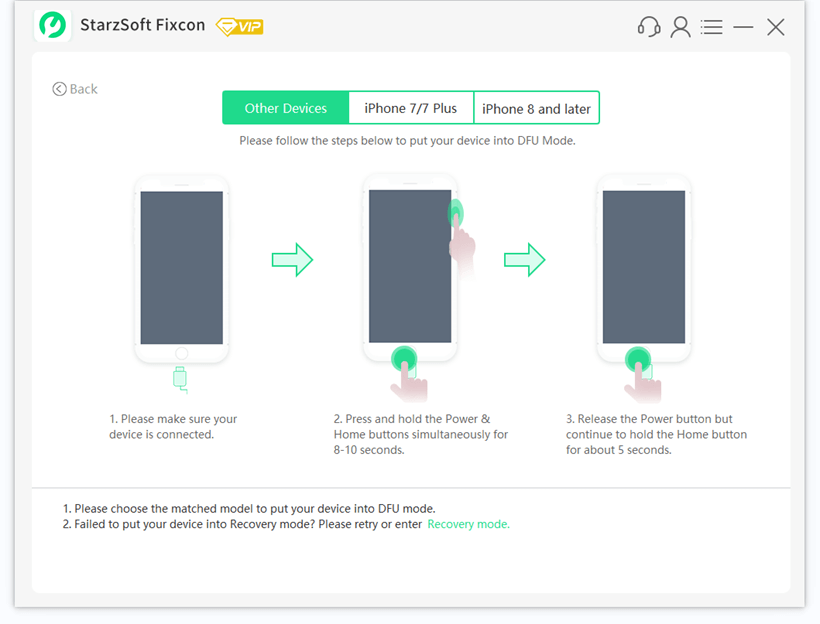
(DFU Mode Instructions)
Step 3. Download Firmware Package
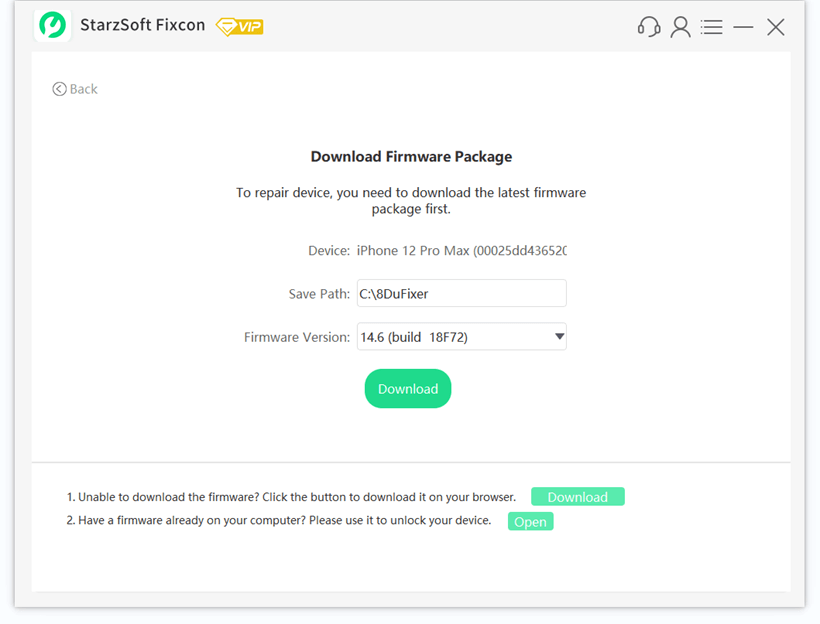
Fixcon will automatically recognize the model type of your device and show you the available firmware packages. Select the one you prefer and click “Download.”
StarzSoft Fixcon can also help you to downgrade your iOS/iPadOS/tvOS. If there is an older version available, you can select it to downgrade. If not, it’s not possible for you to downgrade.
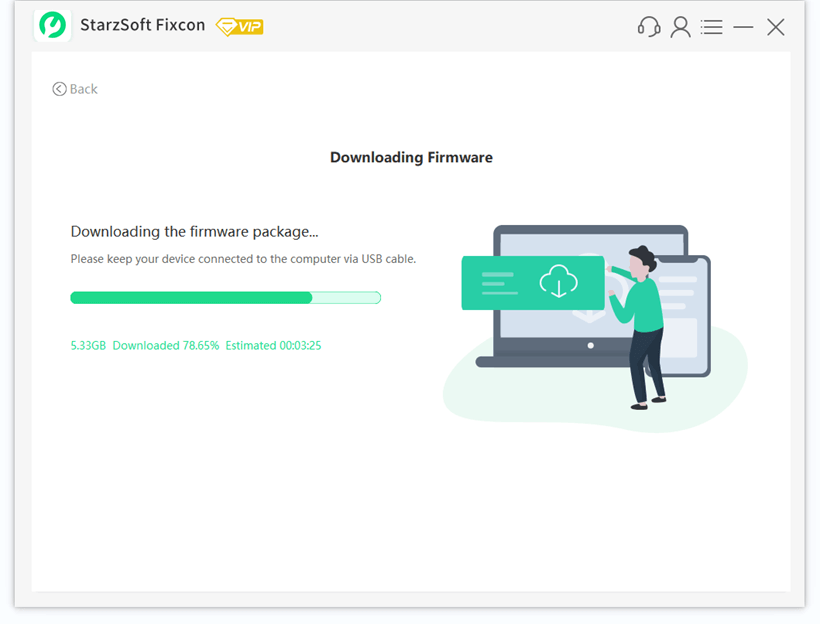
It will take some time to download the firmware package.
Step4. Start to Repair
Once the firmware package has been downloaded, the page will display as below. Click on “Continue” to start system repair.
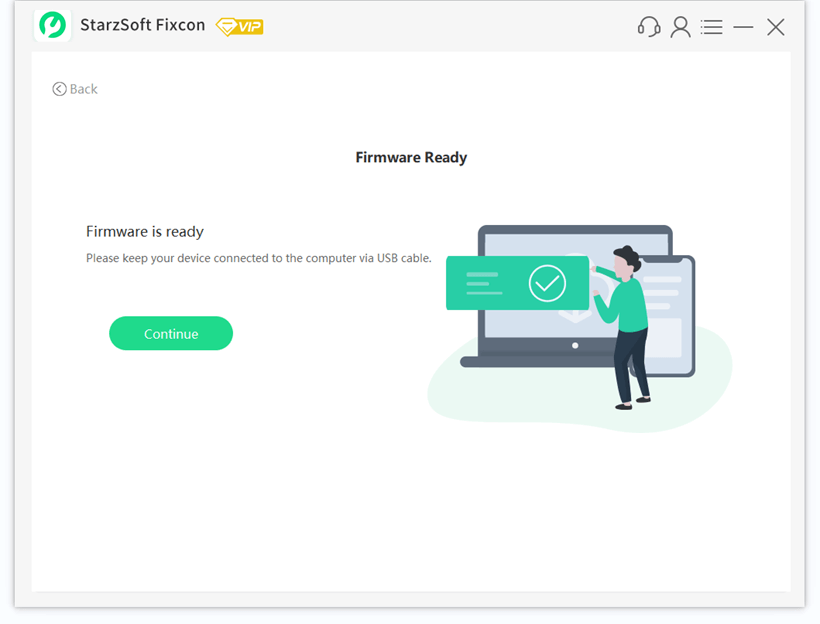
The repair process will take a few minutes, please kindly wait.
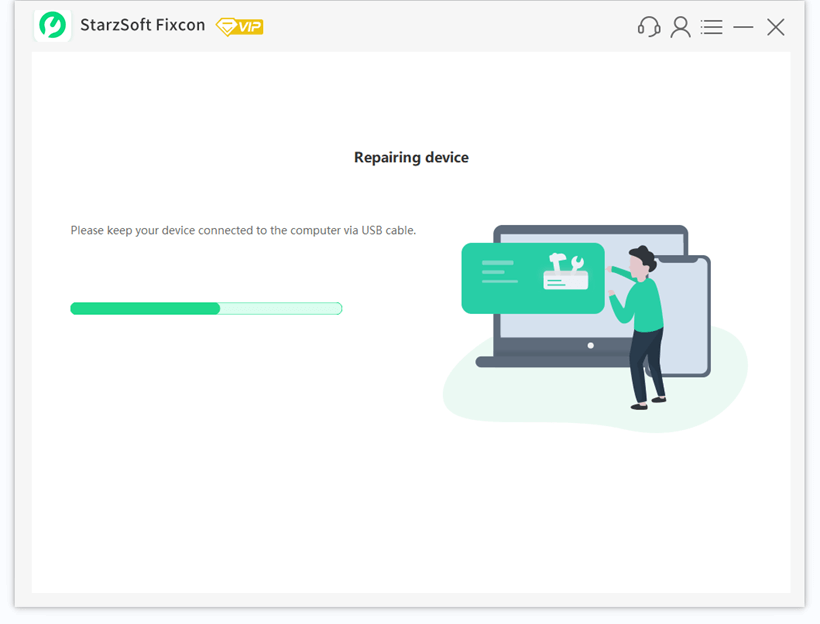
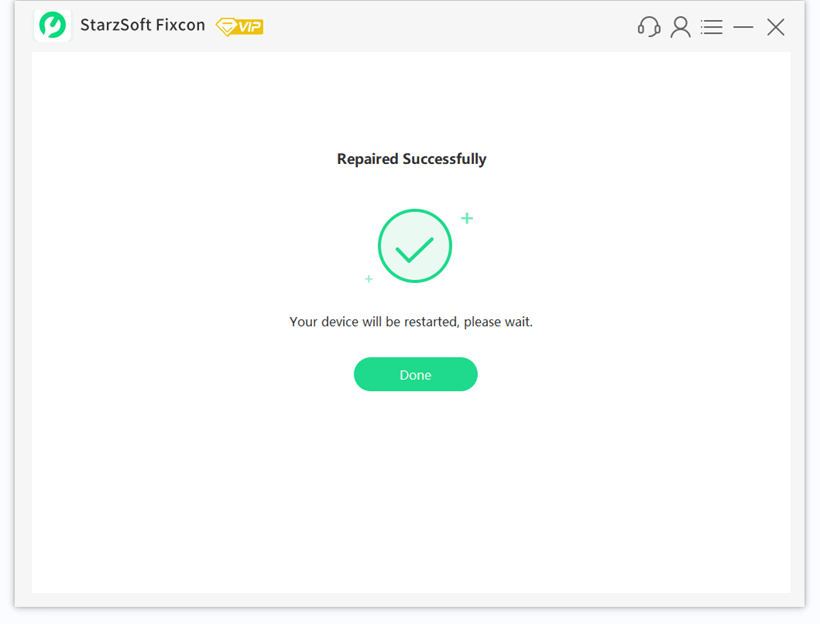
When the repair process is completed, your device will be restarted and all your data are still there.
Advanced Repair – Fix Serious System Issues with a Higher Success Rate
Cannot fix your iPhone/iPad/iPod touch/Apple TV in the Standard Repair? Don’t worry, here comes the Advanced Repair. It will enable you to fix more serious issues with a higher success rate. Do remember that this mode will erase all your device data, please back up your device first before proceeding.
Step 1. Select Advanced Repair
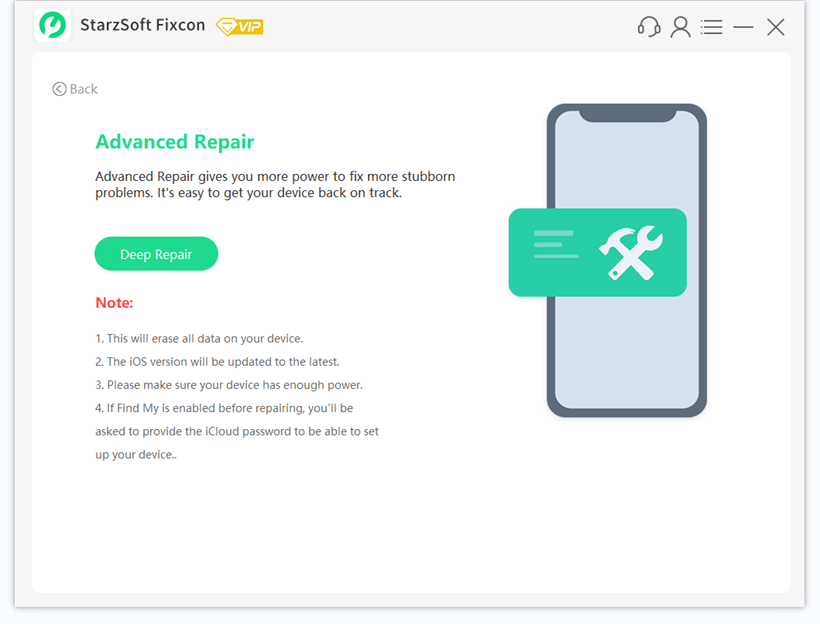
Before “Deep Repair”, read the notice carefully.
Step 2. Download Firmware Package

Step 3. Start to Repair
Once the firmware package is downloaded, click on “Continue”.

There will be a pop-up window. Read the notes carefully and enter “1111” to confirm.
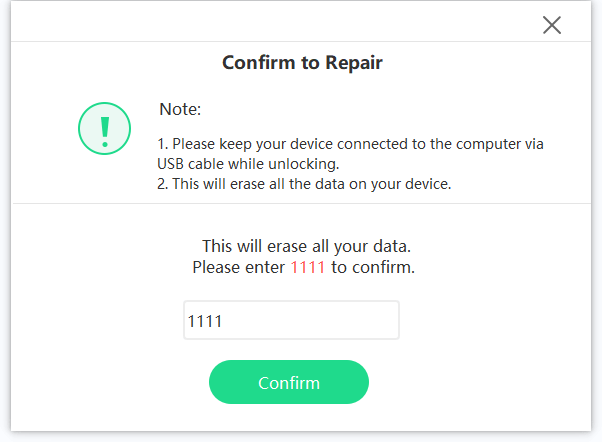
Then Fixcon will start to repair your device.

Enter/Exit Recovery Mode with One Click
Enter Recovery Mode
Choose the “Enter/Exit Recovery Mode with one click” mode on the home interface.
Connect your device to computer. And click ” Enter Recovery Mode”
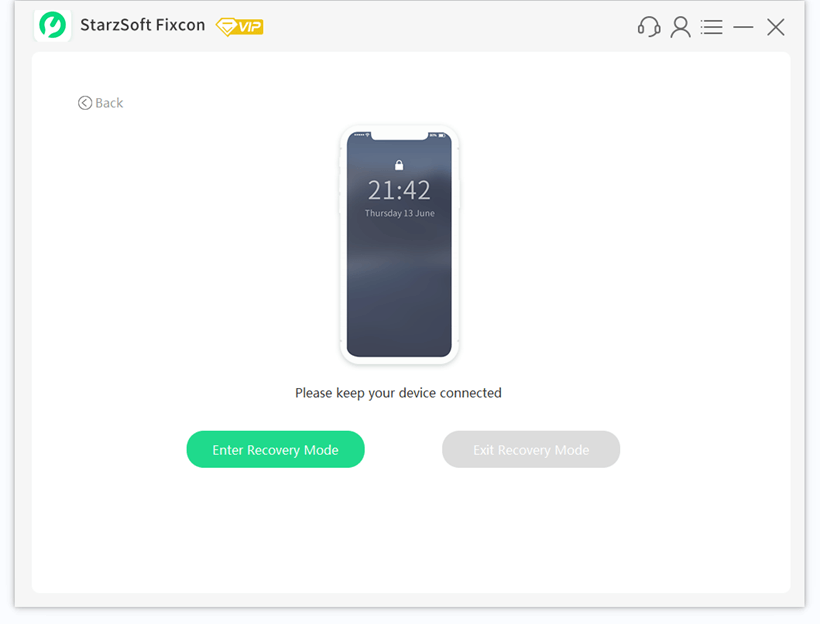
It will take some seconds to enter Recovery Mode.
Exit Recovery Mode
To exit the Recovery Mode, choose “Exit Recovery Mode”.
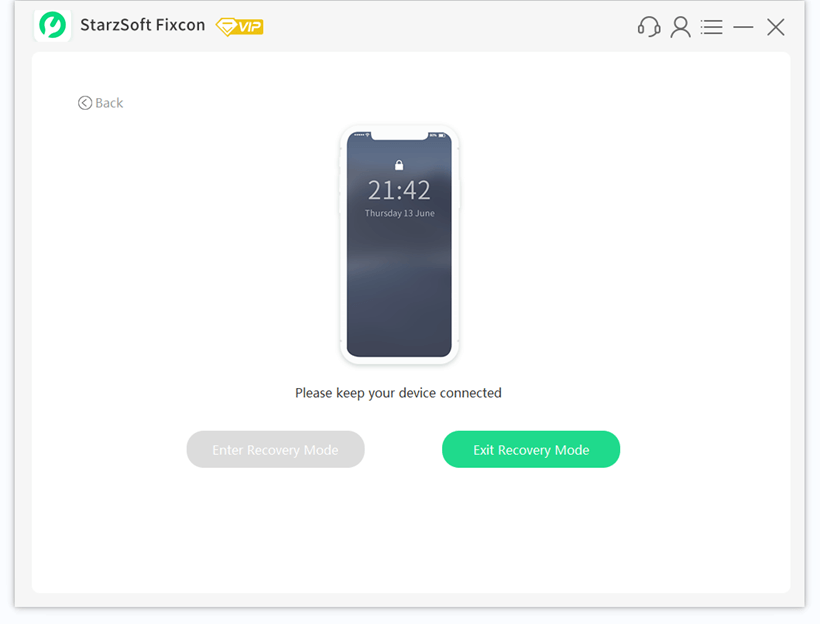
Almost instantly, your device can be got out of the Recovery mode. Your device will reboot to normal state within one minute.

