The iPhone is one of the most coveted cellphones in the world and runs on one of the most praised, effective, and secure operating systems. Even with its high-performing iOS software, the iPhone is nevertheless susceptible to bugs, and iTunes faults are among the most frequent problems. One of them, which appears when restoring or updating your iPhone, is the dreaded and inconvenient error 2009.
Part 1: What Does the Error 2009 iPhone Mean
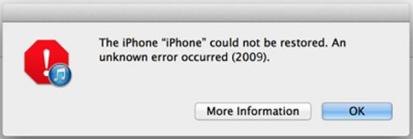
Most of the time, a pop-up notification will appear on your screen reading “The iPhone could not be restored. An unidentified error 2009 occurred”. This implies you can’t restore or update your iPhone to the most recent software version.
When you truly face iTunes problem 2009, there could be various factors. You should be aware of the primary causes of this mistake. The following are the reasons:
- Outdated iTunes version
- Outdated security software
- Corrupt iTunes or OS data
- Virus or malware attack
- Deleted iTunes related files
- Using a faulty USB connector
- Damaged operating systems
Part 2: How to Fix Error 2009: 7 Solutions
1. One Click Solution with StarzSoft Fixcon
If you’re having problems with “error 2009” or other iOS device malfunctions and difficulties, you should use StarzSoft Fixcon, which is the most authentic and trustworthy approach to fix “error 2009” and other iOS device malfunctions and issues.
To fix an error 2009 iPhone problem, proceed with these instructions and go for the Standard Repair option.
- 1. Simply go for StarzSoft Fixcon by installing and launching it. After that, move to the main menu and look for the repair options. Select the standard repair mode. Now connect your iphone that is facing 2009 error with the USB cable.
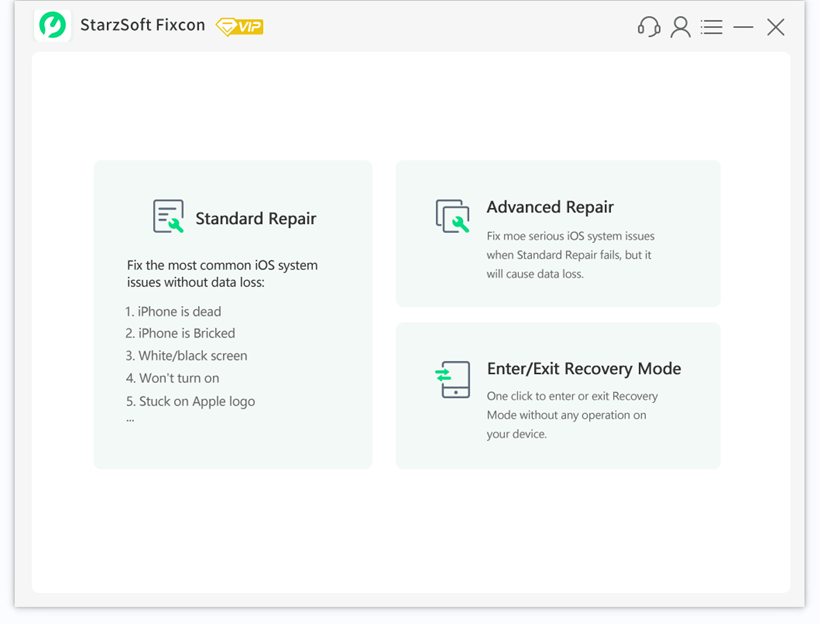
- 2. Now connect your iphone that is facing 2009 error with the USB cable.
- 3. Fixcon swiftly recognises the model type of your device and other information, and will also install the required firmware files. You must keep your focus, select only the option you want, and then click “Download.”
- 4. A green box will appear containing the Continue option. Make the decision to start the system repair now.
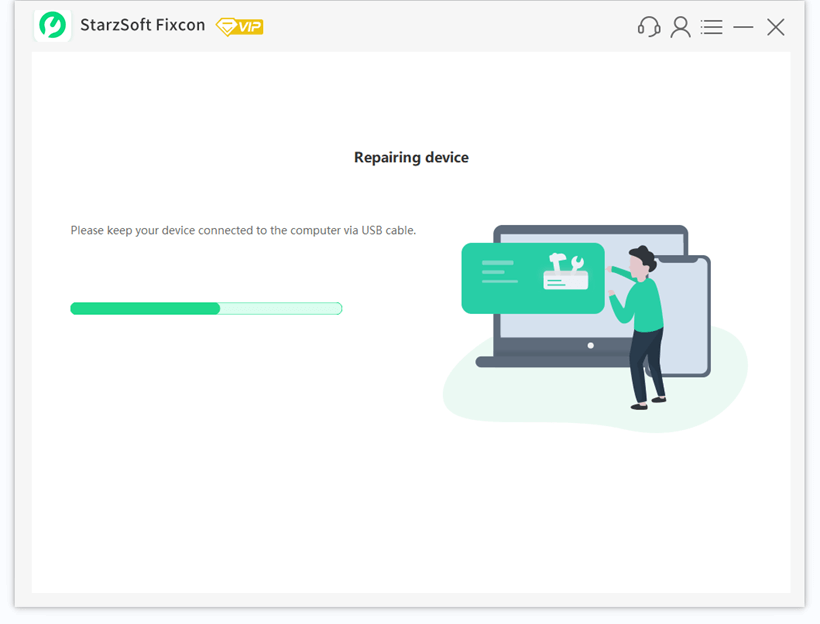
At this point, all that remains is to wait for the repair option to be finished. The “iPhone 2009 error” issue will then be resolved.
2. Change USB Cable and the USB Port
You should start by taking care of the fundamentals, such as checking your USB connection, before moving on to more complicated solutions. Keep in mind that utilising a bad cable could result in a 2009 “iPhone could not be restored error” warning.
Check to see if the cable is connected correctly. Ensure that the USB cable you are using is a genuine Apple product. To be sure that using a defective cable is not the cause of the issue,
You can borrow a working cable from a friend. Changing USB cable and USB port can often solve the problem.
3. Restart iTunes, iPhone and Computer
Restarting both devices helps to eliminate software faults that may be causing your problem. This implies that your gadgets will start over.
- 1. Hold the Sleep/Wake and Lower Volume buttons at the same time. The iPhone X, as well as later versions, have a Sleep/Wake button on the right side.
- 2. Slide the Power Off Slider to the right.
- 3. When the screen goes black and nothing displays, tap and hold the Sleep/Wake button until the Apple logo displays and the phone turns back on.
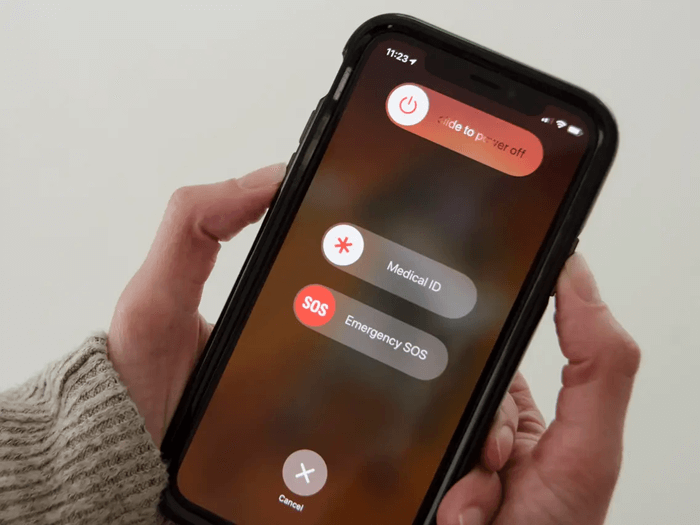
If you have an iPhone SE, iPhone 8, or earlier model, you may turn it off by holding down the Sleep/Wake button until the slider displays.
4. Update or Reinstall iTunes to Fix Error 2009
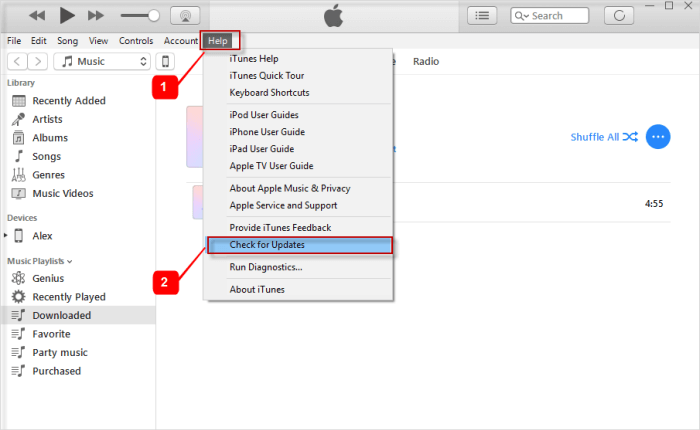
Apply the following specific and special approaches for solving the next unknown error 2009 on iTunes if it persists. You should now see if there is an iTunes update available.
- 1. On a Windows computer, start by launching iTunes.
- 2. Tap “Help” from the menu at the top of the screen.
- 3. Choosing Check for Updates from the drop-down menu bar should be done.
- 4. To complete the update, adhere to the on-screen directions.
5. Disable iTunes Helper When Error 2009 iPhone Appears
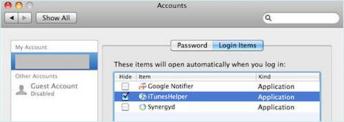
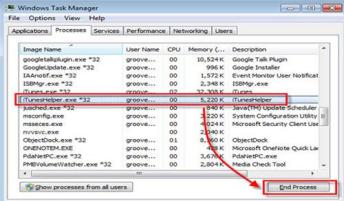
If none of the previously mentioned fixes work, the error 2009 iTunes may be caused by the iTunes helper. If you thought about turning it off first, that would be helpful. Here’s a workaround for that:
On a Mac, select “Login Items” under System Preferences Account. On the items list, you locate the “iTunes Helper” and disable it.
On Windows, open and launch Command by selecting “Start” from the menu. Press “Enter” after typing “MsConsfig.” Disable “iTunes Helper” by looking for it.
6. Check and Disable Security/Antivirus Software
As we have stated, it’s extremely plausible that a virus infection caused the 2009 iTunes issue. Consider updating your security software and doing a thorough malware scan on your computer to rule out this option.
After then, you must momentarily turn it off. The firewall that comes with the majority of third-party security programmes may be preventing iTunes from connecting to the Apple servers and causing the error.
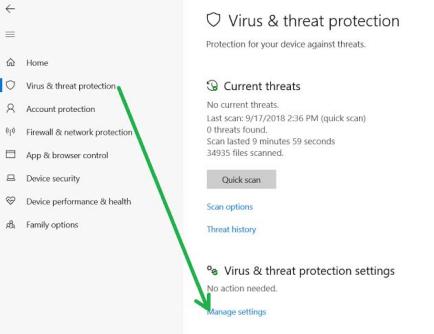
- 1. Windows Security can be found by selecting Start and typing that word.
- 2. Choose the Windows Security programme from the search results, navigate to Virus & threat protection, and then click Manage settings under Virus & threat protection settings.
- 3. Turn off Real-time protection.
7. Contact Apple Support for Help
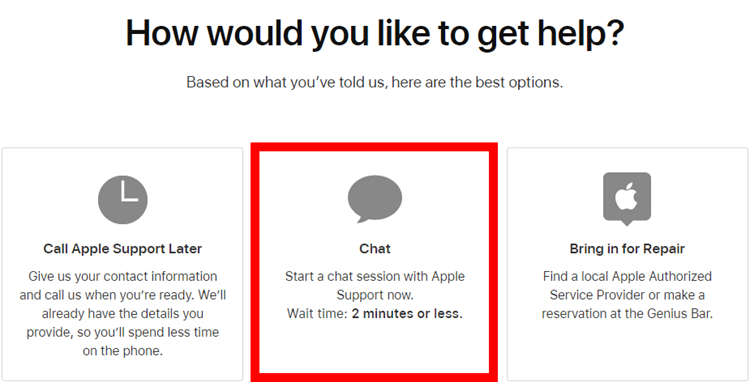
Set up a repair or a Genius Bar appointment for iPhone, iPad, Mac, and more by contacting Apple support through phone, chat, or other means. By contacting the Apple Support phone number for your nation or region, you can speak with an Apple Advisor.
If you want to get in touch with the Apple support visit their official website. Then enter your country origin and look for the respective phone numbers. After finding the appropriate call and messaging options you can contact the support team right away.
Conclusion
If you want to prevent and eliminate the iTunes error 2009, you should put these techniques into practise. If you have already encountered it, you should use them right away to stop it from happening again.
The most important thing is to always keep your device’s original USB cable nearby. Every time an iOS device is connected to a computer or USB port, Apple users are encouraged to perform this.
We wish you luck in finding relief if the error 2009 has been preventing you from updating or doing a restore. In this article, we’ve highlighted a few of the best fixes for your issue. You just need to test them out and decide which one works best for you. The ball is now on your coat.
You could, for instance, try using the StarzSoft Fixcon to resolve the problem. The application is simple to use, effective, and quickly resolves your issue without erasing any data.
