Error codes aren’t savory and can be a thorn in the flesh if they persist. It only worsens if you don’t have a clue about fixing them.
One typical iOS hitch is the iTunes error 10, which can bend you out of shape if you haven’t dealt with it before. However, fixing it is easy if you know your way around them.
This article offers the nitty-gritty of fixing the iTunes error 10 and getting your device operating in full swing.
Why Does the iTunes Error 10 Occur?
The causes of iTunes error 10 can be underlying and somewhat subtle, giving you a run for your money.
However, it’s easy to understand the problem if you’re well-versed or have dealt with them before. Quite often, hardware problems are the notorious causes of this nagging error.
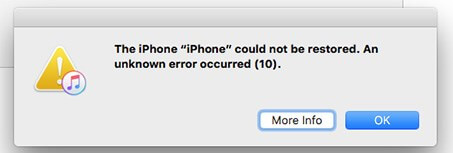
But still, obsolete iTunes versions, broken USBs, and loose connections during the upgrade can be viable reasons.
Active antivirus software and firewalls often prevent communications between your PC iTunes software and servers, adding weight to the problem.
Regardless, here’s how you can fix iTunes error 10 on your iOS device.
How to Fix iTunes Error 10
Fixing iTunes error 10 isn’t some legwork if the problem only scratches the surface.
However, profound and underlying issues require a proper expert diagnosis to avoid giving yourself a headache or exacerbating the problem.
Most people use trial and error to pinpoint the issues with their fingers crossed, seemingly working well. But regardless of how you find out, here’s how you can fix iTunes error 10 on your iOS device.
1. Fix iTunes Error 10 With Starzsoft Fixcon
StarzSoft Fixcon is one of the best versatile software you can use to fix iTunes error 10, regardless of the magnitude.
This viable tool is a jack of all trades, dealing with every iOS device problem and offering ideal solutions at the drop of a hat.
Better yet, you hardly stand to lose any data, and it’s undeniably the safest way to fix iTunes error 10. This tool boots your device into recovery mode in just a few taps and corrects the error instantly, even before you realize it.
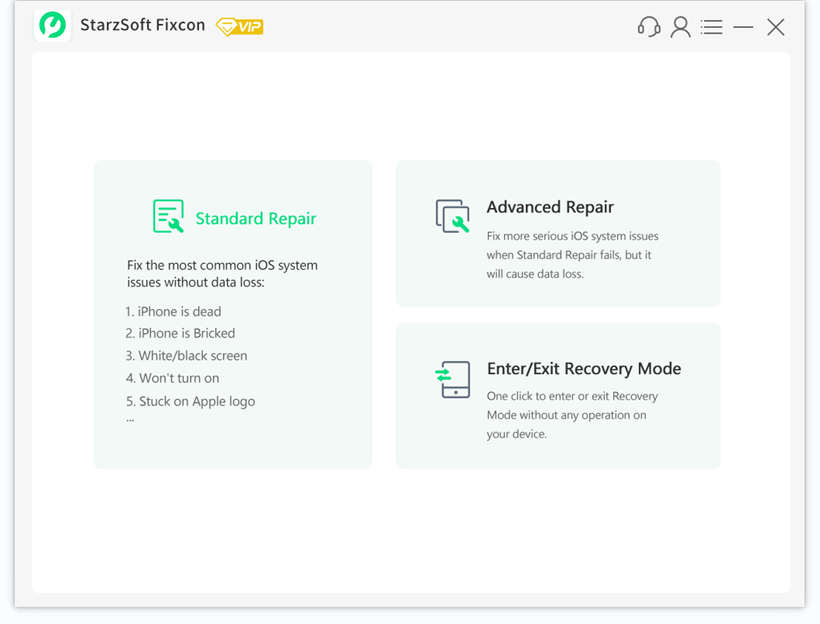
Tools like StarzSoft Fixcon and a few proficient others can come in handy if you hardly know how to fix these errors, so please give it a shot.
2. Restart Your iTunes and Device
Probably, a jam occurred in your device’s system and stalls everything, leading to the iTunes error 10. So one way to be sure is to restart your software and hardware to start from zero.
Of course, trial and error play a part in diagnosing this hitch; perhaps, you may be right.
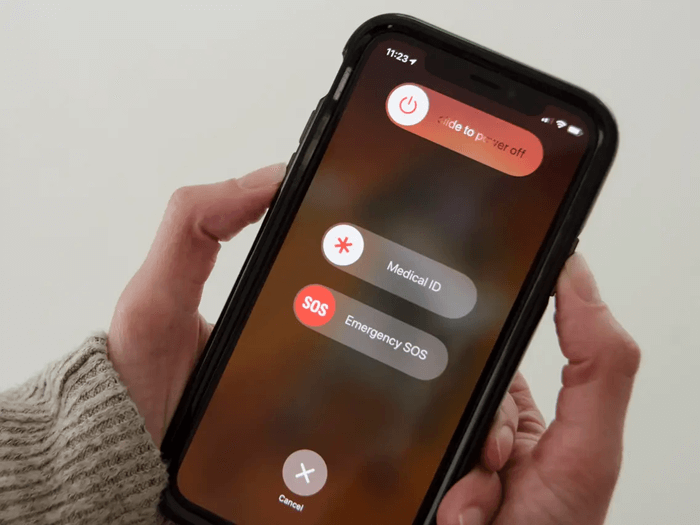
Rebooting your device is the quickest way since it jumpstarts the system and your iTunes app on your computer.
But if that feels daunting, you can still try quitting and restarting your iTunes to check if it helps. Sometimes you may need to force-start your iOS device to patch things up; whichever way works, the better.
3. Check Your Firewall and Antivirus Software
If you’re using your PC’s iTunes to restart or update your iOS device, it should adequately connect to the Apple servers without a hitch.
That allows your PC to create a log file in your PC and bypass the checkpoints seamlessly.
Your firewall and antivirus software can be a hindrance since they interrupt communication and relay between iTunes and the servers, breeding the iTunes error 10.
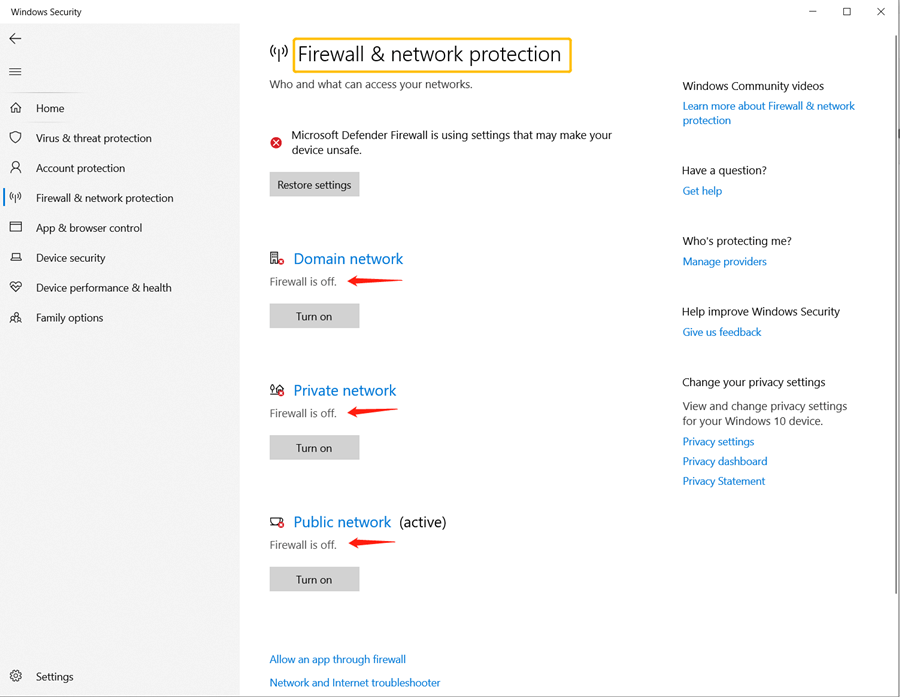
You may need to disable them temporarily, but be sure that no looming malware attacks might breach your devices’ defenses.
Or, to minimize risks, you can disable your firewall but let your antivirus software run. However, ensure that iTunes is on the exception list to give it the green light to operate seamlessly.
4. Check and Fix Your Connective Cables and Ports
Broken USB cables and loose port grips are the genesis of the iTunes error 10 and can get you scratching your head.
Damaged connections interrupt the update and restoration process.
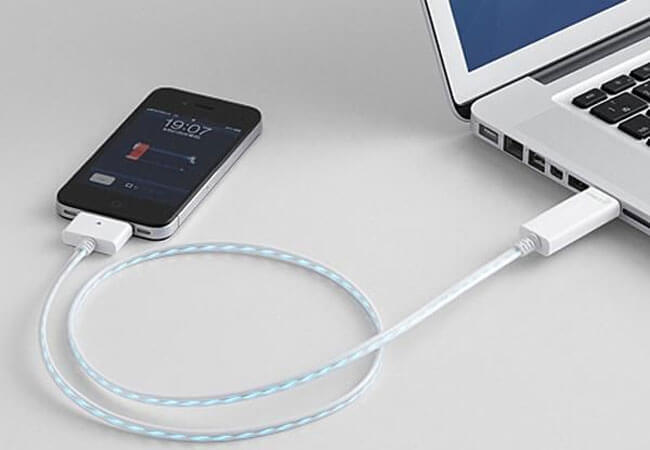
Besides, incompatible connections can lead to faults, and you may notice that the update stops midway before the error dialog shows up.
So, ensure your cables are in proper form, and the connectors are in good shape.
If possible, use the original USB cables – probably those you bought alongside your iOS device – to avoid facing this nagging error.
5. Update Your iTunes
An obsolete iTunes can also lead to the iTunes error 10. This issue can be underlying, and you may realize that too late when it’s already worn you out with finding a solution to the problem.
Therefore, it’s best to keep a keen eye on updates, installing new ones once they roll out. That can help you avoid dealing with the error or prevent it from recurring.
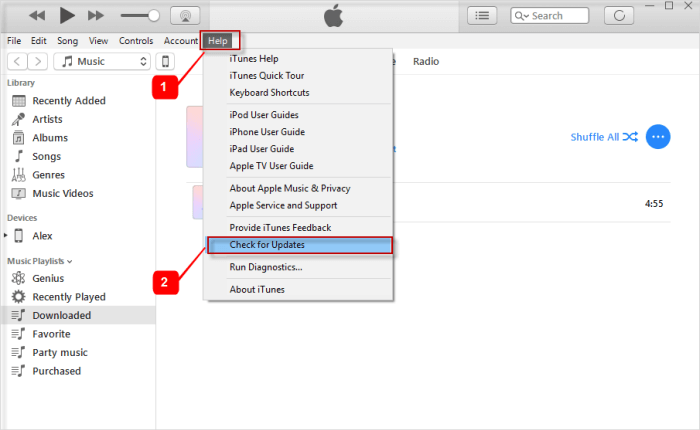
Updating iTunes isn’t challenging since the process is intuitive and self-guided.
However, for some heads up, click “Help” on the menu bar, select “check for updates,” and update your iTunes if any new versions are available before starting the update or restoration.
6. Reset Your Device to Factory Settings
Sometimes, resetting your device to factory settings might seem like the worst thing, but it helps when you hit a dead end.
However, it’d help if you were sure that none of the tips above work and you have the reset button to press as your only viable option.
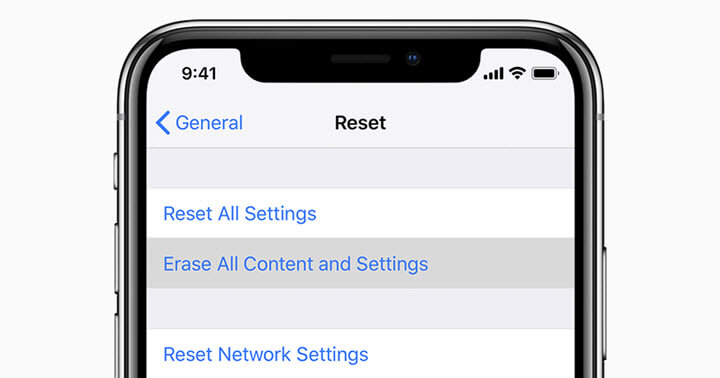
Remember that resetting your iOS device to factory settings erases everything, including the files and documents in your internal storage.
Besides, it scraps off your logs, compromising software running within. Therefore, please arrange to back your information to external storage before resetting your phone to fix iTunes error 10.
Conclusion
iTunes error 10 can bar you from using your phone when installing updates or restoring your device. And while most people may be aware of the underlying causes, others would scour their iOS devices trying to find the root of the problem in vain.
However, you have a few quick fixes to run to, including the few-clicks repair software like StarzSoft Fixcon and updating your iTunes. That way, iTunes error 10 won’t ever be a problem.
