The simplest way to keep your iPhone optimized is by keeping its iOS version up-to-date. Apple’s latest operating system is iOS 15; it comes with some useful enhancements and features.
But what do you do when installing software updates via iTunes, it prompts an error that reads, “The iPhone/iPad software update server could not be contacted?”
Know why this error occurs and find out how to fix it below.
Why Are You Getting This Error?
If you have noticed, the full error that pops up on your screen says, “The iPhone software update server could not be contacted, Make sure your network settings are correct and your network connection is active, or try again later,” which means bad network connection could be causing this issue.
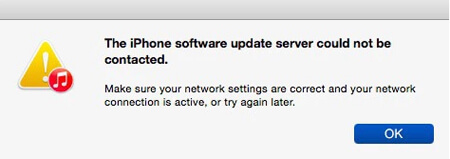
Unreliable Wi-Fi or data connection is definitely the number one culprit affecting your device’s capability to reach iPhone’s server and install the update seamlessly.
However, this error is also not caused by an isolated reason. This means other factors could cause this error to occur. For instance, many Apple users speculate that this could be due to heavy traffic incoming to Apple servers. The servers just can’t handle these multiple requests at a time, so they lag or fail to serve the updated software.
Now that you have an idea as to why you are getting this error and what may be causing it, we can proceed to the next part of our article.
The following sections will help you to fix iPhone won’t update issues.
Fix “This iPhone software update server could not be contacted”
Quick Fix #1: Quit and Relaunch
There are many possible reasons why iTunes suddenly stops responding when you try and update your phone’s system.
But oftentimes, even the simplest one such as multiple apps running in the background, could already interfere with your software update.
Thus, the first thing you need to perform to try and fix the installation error is to quit iTunes. Close all background applications and then try again.
It’s also highly recommended to restart your device before reinitiating your iPhone update to wipe the device cache that may be causing the installation to fail.
Moreover, you need to ensure that your iTunes app is also up-to-date. If it’s outdated, update the app first before trying to install the new iOS version to your phone.
Quick Fix #2: Use a Third-Party Tool
Another alternative method to fix The iPhone Software Update Server Could Not Be Contacted error is through StarzSoft Fixcon.
Fixcon is a third-party System Repair tool for iOS. It can flash the latest iOS version on your iPhone without the risk of losing your data. Here’s a guide on how to fix iOS update issues through Fixcon.
Step 1: Download Fixcon on your computer.
Step 2: Connect your iPhone to your computer and launch the Fixcon application on your PC. Click the Standard Repair option.
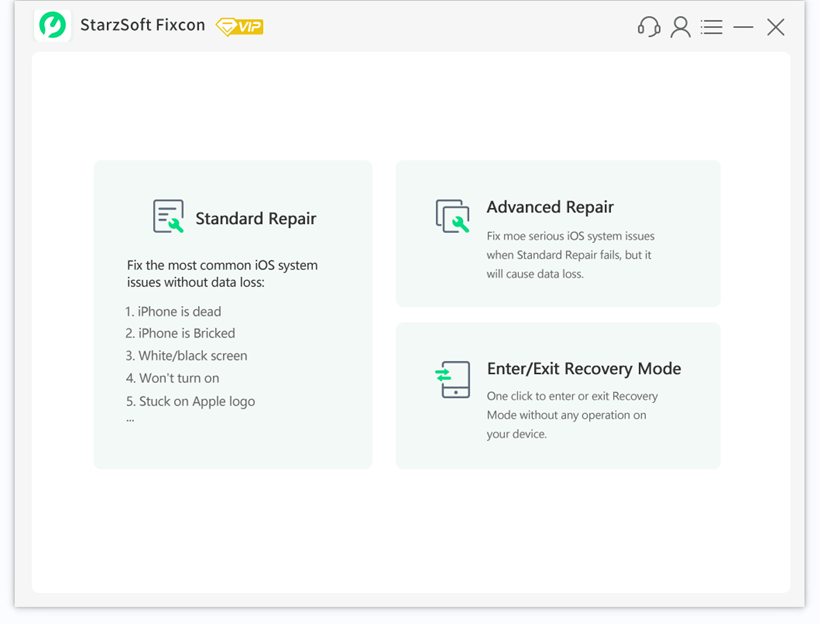
Step 3: At this stage, download the firmware package for your iPhone.
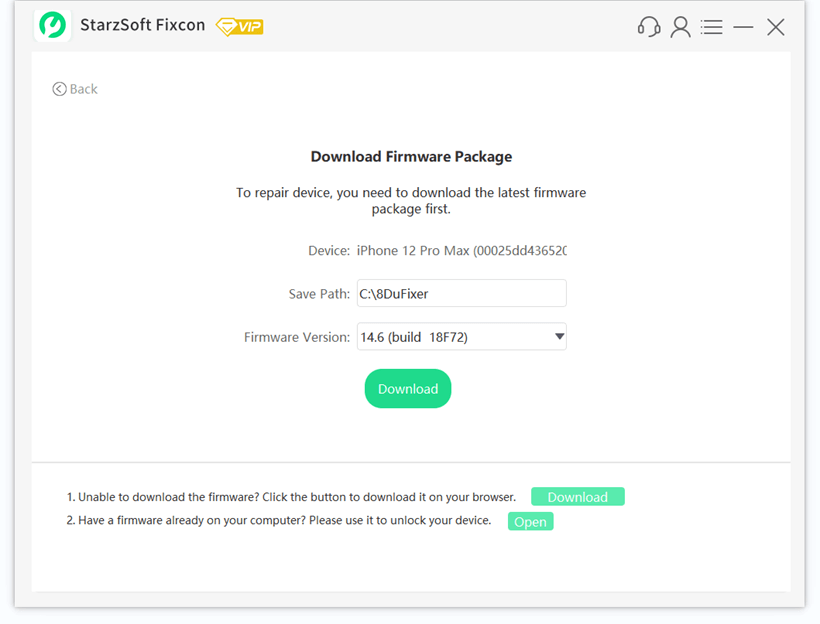
Step 5: Make sure all details are accurate for this to work. Then, click Continue to proceed.
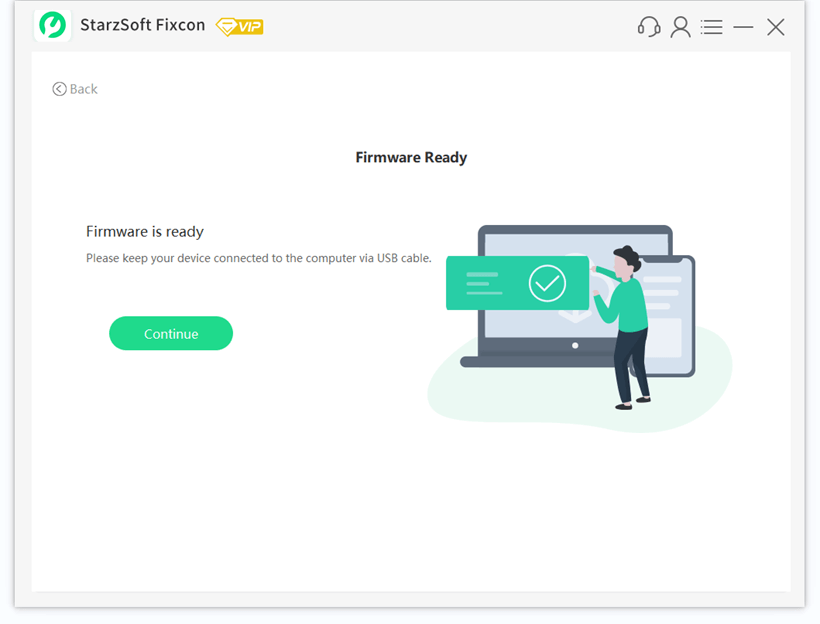
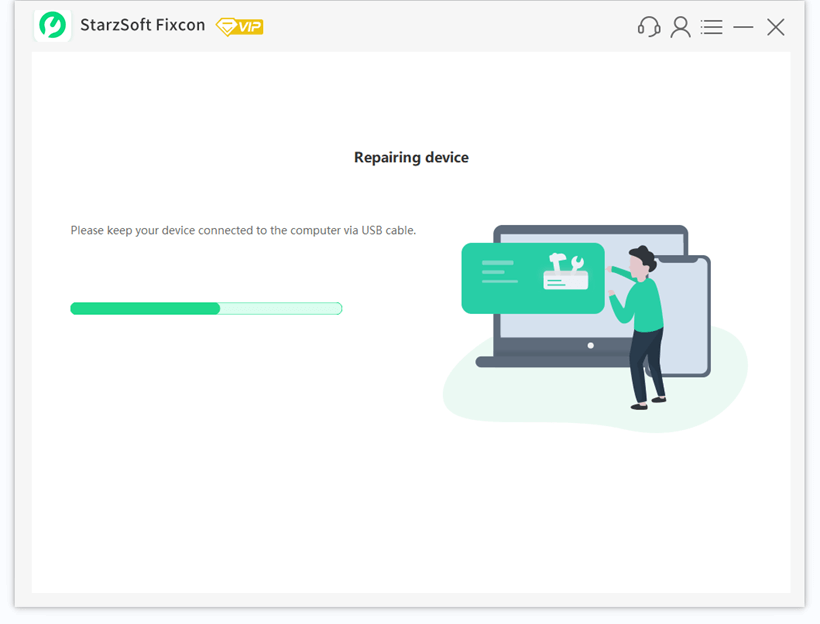
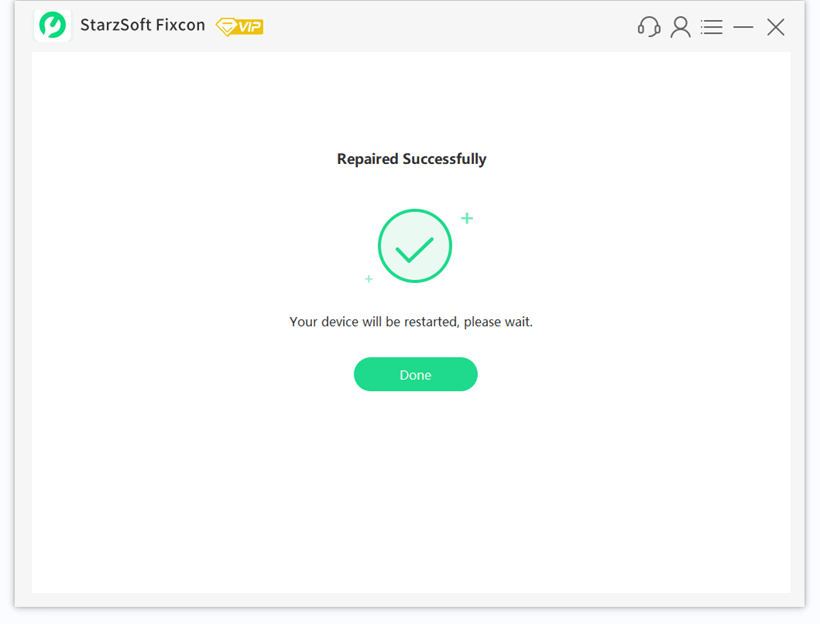
Step 6: The installation will now initiate. Wait for the process to finish.
Quick Fix #3: Check Your Network Connection
With the error urging you to check your network settings, you will need to ensure that you are connected to a correct and active network. Here’s how you can do it:
Step 1: Reboot your router. Turn off your Wi-Fi router. Wait for at least 10-15 minutes before turning it back on again.
Step 2: Check the connection status on other devices. On your device, double-check if you are connected to Wi-Fi correctly. Access online websites on your browser and see if it loads without issues.
You can also check if your other gadgets connected to the same network are having some network error.
Step 3: Connect temporarily to a different network. If your network is having poor connectivity or your device is having problems identifying it, try connecting to a different Wi-Fi connection.
Quick Fix #4: Update Through OTA
If the above quick fixes don’t resolve the error prompt, it means that your network is not the issue. So, you might need to install the software update using a different method; try updating through Over the Air (OTA).
Step 1: Go to your iPhone’s Settings. Tap the General option and click Software Update. You will be routed to the installation screen if your phone detects a new iOS version is available.
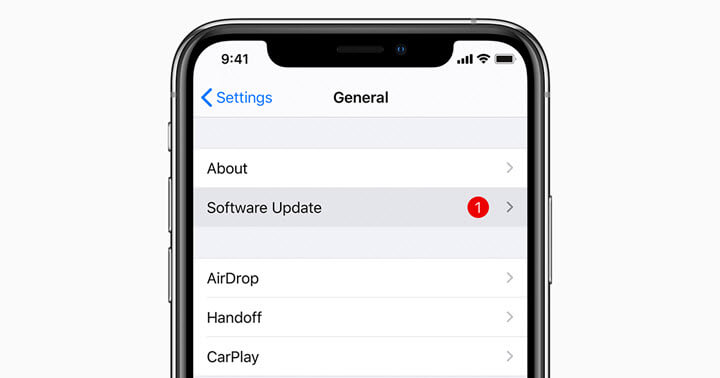
Step 2: Click the Download and Install option. Type in your PIN code if it prompts your screen to proceed to the installation.
Step 3: Wait for the installation process to finish. Your iPhone will restart after that.
Quick Fix #5: Install Update Manually
Here’s a more exhaustive way to install a software update on your iPhone with The iPhone Software Update Server Could Not Be Contacted error.
The steps that follow are slightly technical, but the steps are simplified to make the process easier for you.
Step 1: To install software updates manually, you will need to have the IPSW file. Make sure to download the file compatible with your device.
Step 2: Connect your iPhone to a computer. Then, launch the iTunes application on your computer.
Step 3: Go to Summary, and on your keyboard, press Options Key (for Mac) or Shift Key (for Windows). Click the option that says Restore iPhone.
Step 4: Your screen will prompt a new window; select the IPSW you have downloaded.
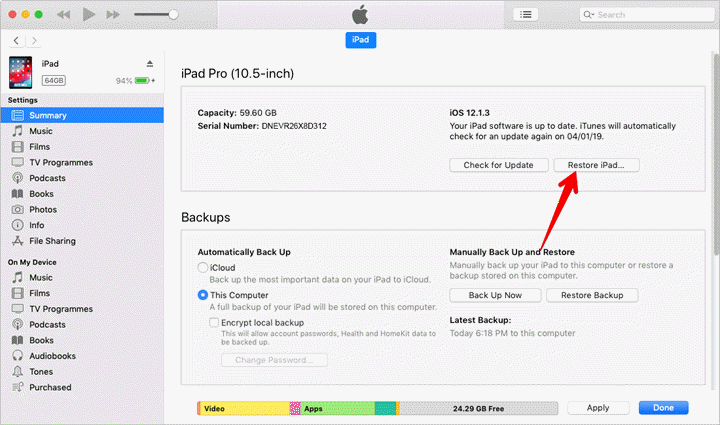
Step 5: You will be prompted with a message that iTunes will erase and restore your iPhone. Click Restore to proceed.
Conclusion
Indeed, getting The iPhone Software Update Server Could Not Be Contacted error when updating your system software is annoying. We all want updates to be done in the most effortless way possible; that’s why we opt for iTunes.
However, in cases where it does not work, at least you know how to resolve it. Use these quick fixes anytime necessary to have your updated iOS installed in a snap.
